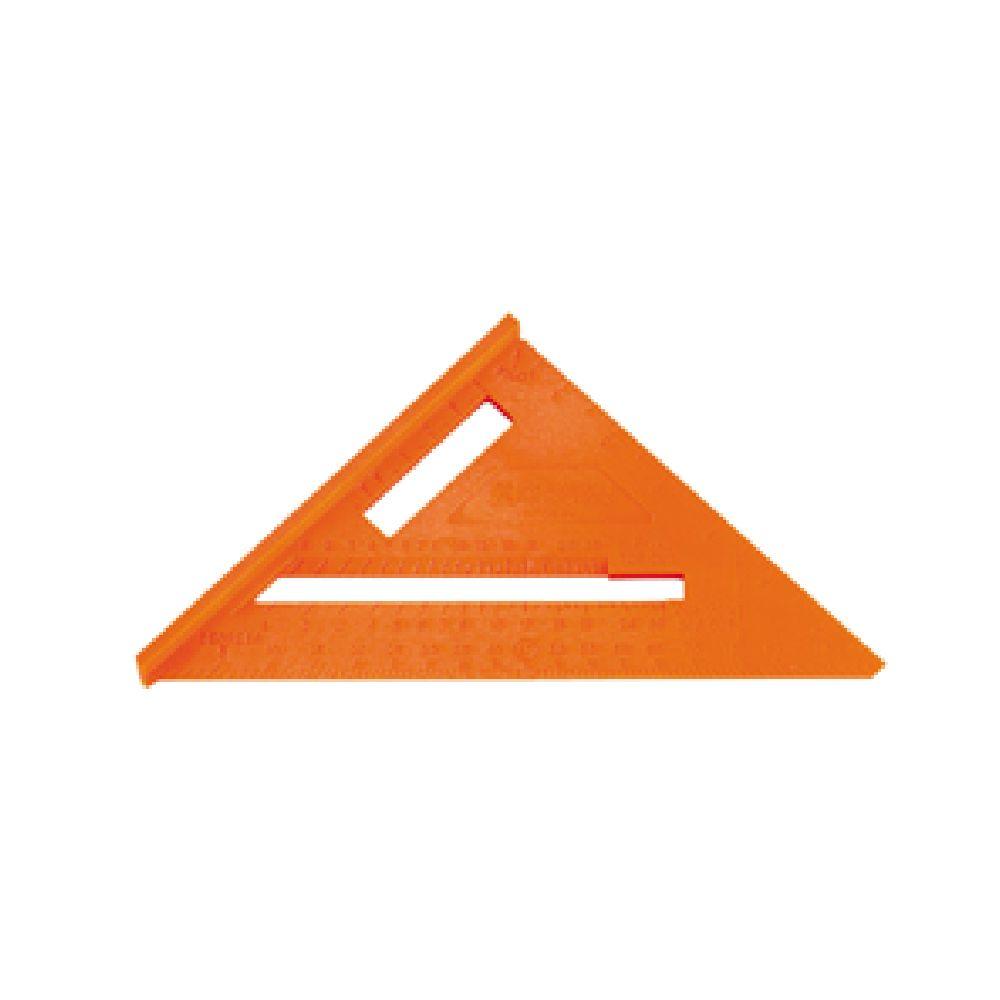
Rafter Pro Roof Layout Square
Rafter Angle Squares How To Read Rafter Angle Square How To Use Rafter Angle Square How To Use Rafter Angle Square With Rafters Johnson Level Tool Mfg Company

Common Rafter Framing Thisiscarpentry

Basic Roof Framing Instructions Roof Framing Framing Construction Roof Construction
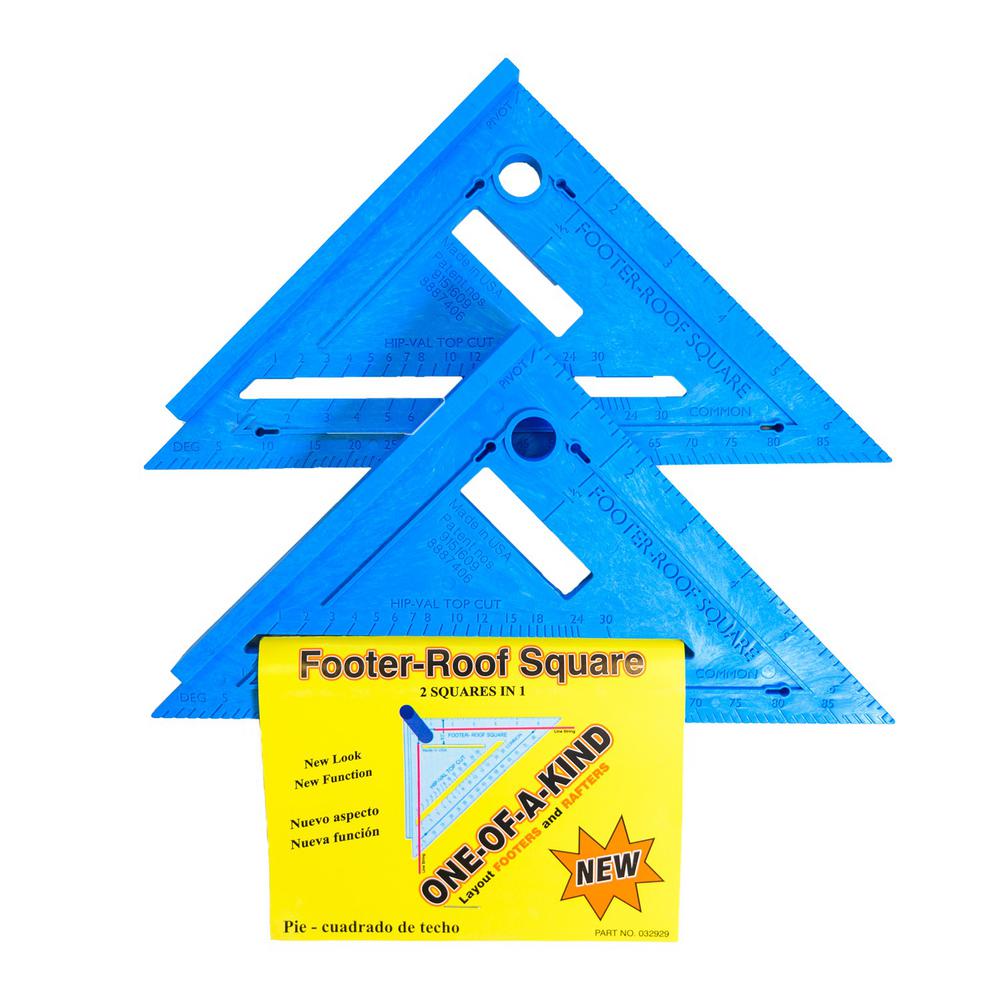
Varney Tools 2 In 1 Footer Roof Rafter Square Pack Of 2 032929 The Home Depot

Beginner Rafter Layout Speed Square Common Rafter Youtube In 2020 Framing Construction Diy Shed Plans Diy Storage Shed

Basic Roof Framing Instructions Roof Framing Timber Frame Building Roof Installation

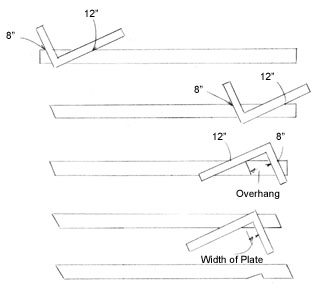
The simplest method is to step off the layout in 1 ft.
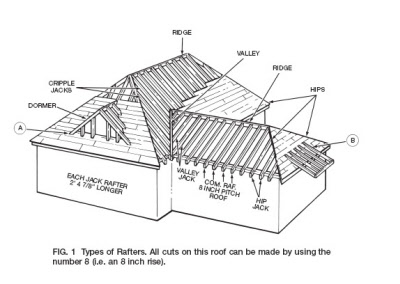
Rafter pro roof layout square. Common rafter layout 1. S1 s4 s13 s16 s17 s20 s25 28 hip rafters layout. Many conventional roofing products such as shingles mandate a slope no lower than 2 12. Today we are tackling a big beginner lesson which is common rafter layout and cutting.
Place the square as before aligning the 6 mark of the tongue and 12 mark of the body with the top edge of the rafter material. Position the square so the 6 mark on the tongue and the 12 mark on the body align with the top edge of the rafter material. More they usually claim that 4 12 is the lowest you can go without any special underlayment. Speed square made simple https youtu be rraefmk7f8 speed square made.
Perfect for sheds garage patio covers. At the top of the rafter place the rafter square on the face of the rafter as in figure 7. Increments using a framing square. Use this calculator to find your rafter length.
If the lumber is not straight always put the high or crown side up. The rafter square is designed to take advantage of the geometric laws of the right triangle. Stepping off the rafter. Start at the ridge.
Roof battens lath hip end side roof battens lath main roof side wall plate or inferior purlin cut corner connection. Starting at the pivot point. Place the square on the rafter material as shown in illustration a. Once you ve marked the lines use your pencil to draw the diagonal length on the rafter.
Pyramidal roof framing plan truss layout jack rafters layout left side. Common rafters are the most common type of rafter in construction. Pivot the layout square so that the number 7 on the common scale lines up with the edge of the rafter. For example the right triangle has by definition one ninety degree angle.
S5 s8 s9 s12 s21 s24 s29 32 jack rafters layout right side. Diy tips for common rafter installation. First you ll want to find the pitch of your rafters which will help you find the length of your rafters. Next set the framing square on top of the rafter beam and use a pencil to trace the outside edge of the framing square s tongue.
Clamp stair gauges to the framing square to align rise and run. Measure from this mark top edge of material a distance of 187 7 8 and put a mark. Place the square with its fence on the top edge of the lumber. To cut roof rafters start by fixing the stair gauges on your framing square to the dimensions of your pitch.
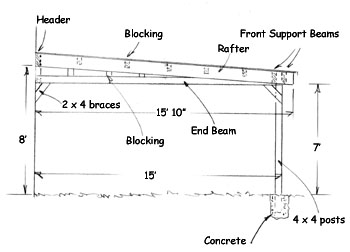
For a gable roof the run is measured from the centerline of the ridge board to the outside edge of the top of the wall. Once you know the pitch and the total run you can lay out the cuts of the rafter in a number of ways.

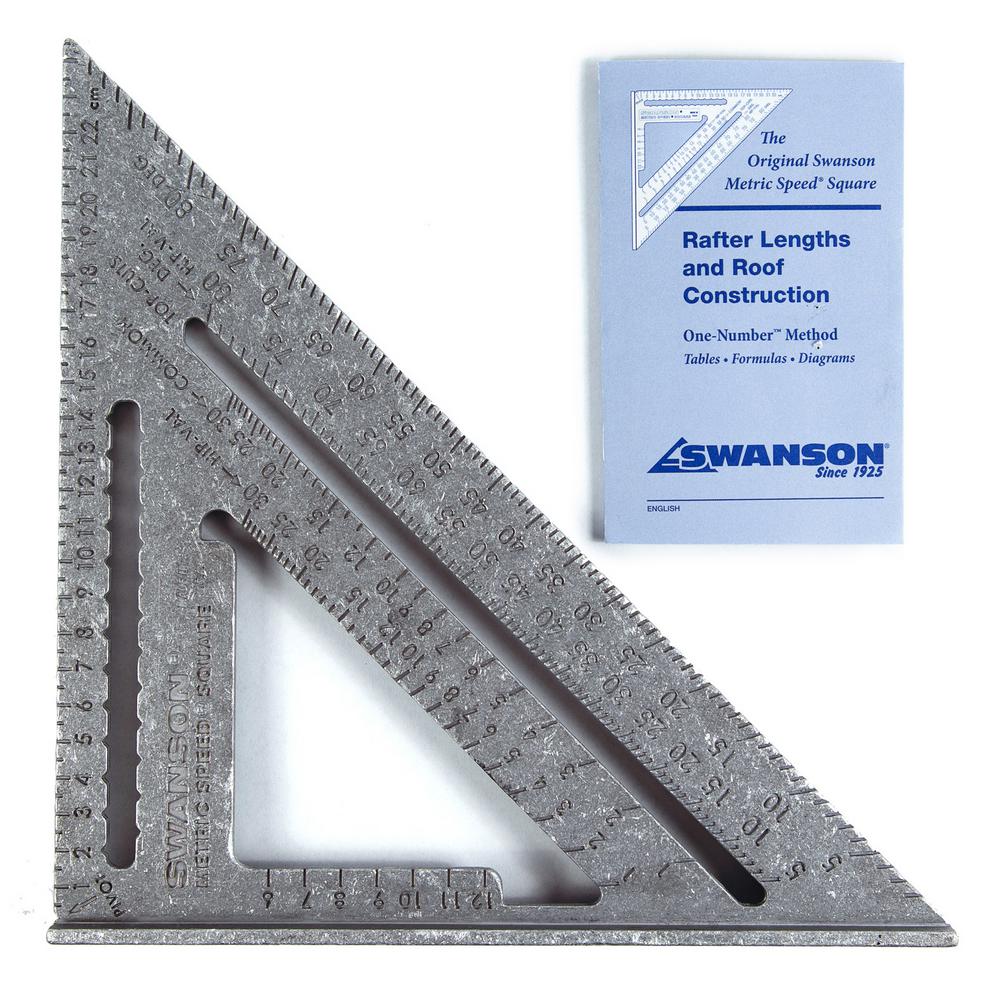
Swanson 7 In Speed Square Layout Tool With Plain Markings And Blue Book T0101 The Home Depot

Basic Roof Framing Instructions Roof Framing Framing Construction Roof Installation
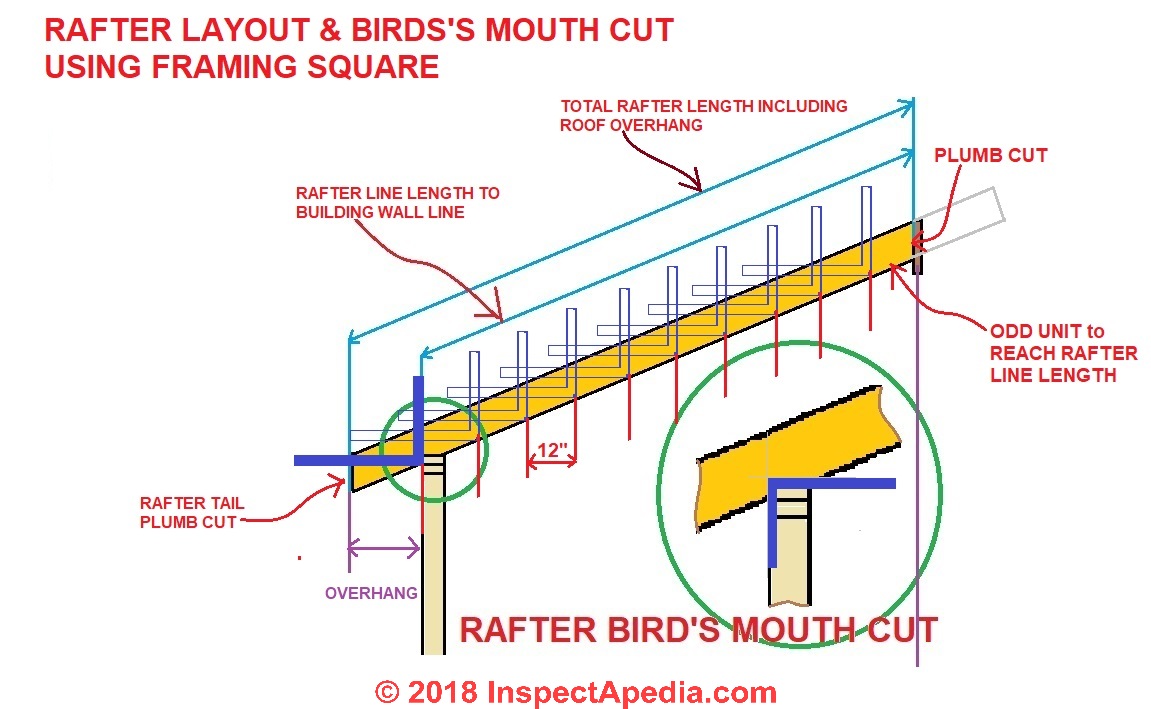
Rafter Bird S Mouth Cut Procedure Use Framing Square To Lay Out The Rafter Notch At Wall Top
Roof Framing 101 Extreme How To

Speedier Speed Square Woodworking Techniques Woodworking Woodworking Shop

How To Frame Hip Roofs Hip Roof Design Hip Roof Roof Design

Pyramid Roof Framing

Basic Roof Framing Instructions Roof Framing Metal Roofing Materials Roof Installation

Pyramidal Roof Calculator Pyramid Hip Roof 3d Online

Basic Roof Framing Instructions Roof Framing Framing Construction Roof Truss Design

Basic Roof Framing Instructions Roof Framing Roof Installation Roof

5 Plentiful Clever Ideas Pitch Roofing Design Slate Roofing White Trim Metal Roofing Fireplaces Roofing Co Roof Framing Framing Construction Roof Truss Design

Roof Rafter Layout Youtube
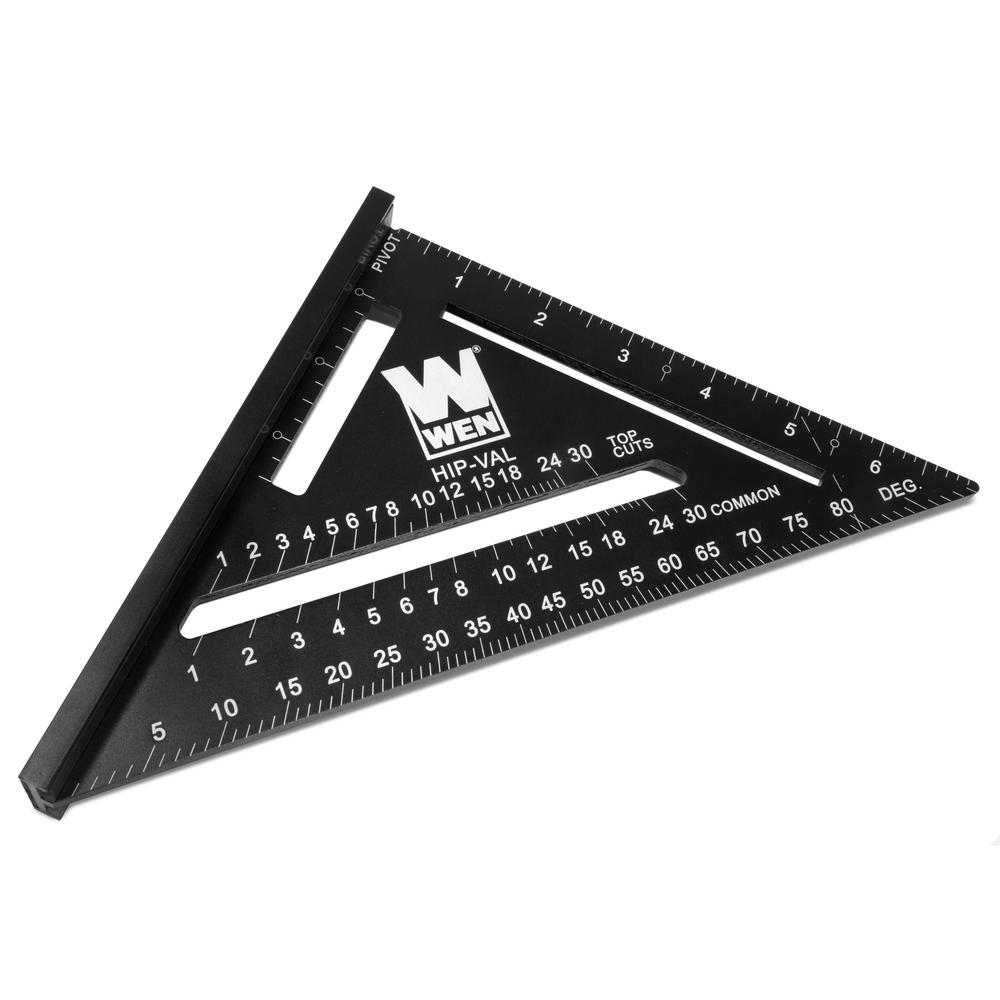
Wen 7 In Magnetic Rafter Square Layout Tool With Laser Etched Scale Me777l The Home Depot

Carpenter S Invention Makes Roof Construction A Piece Of Cake Youtube

Basic Roof Framing Instructions Roof Framing Roof Tool Sheds
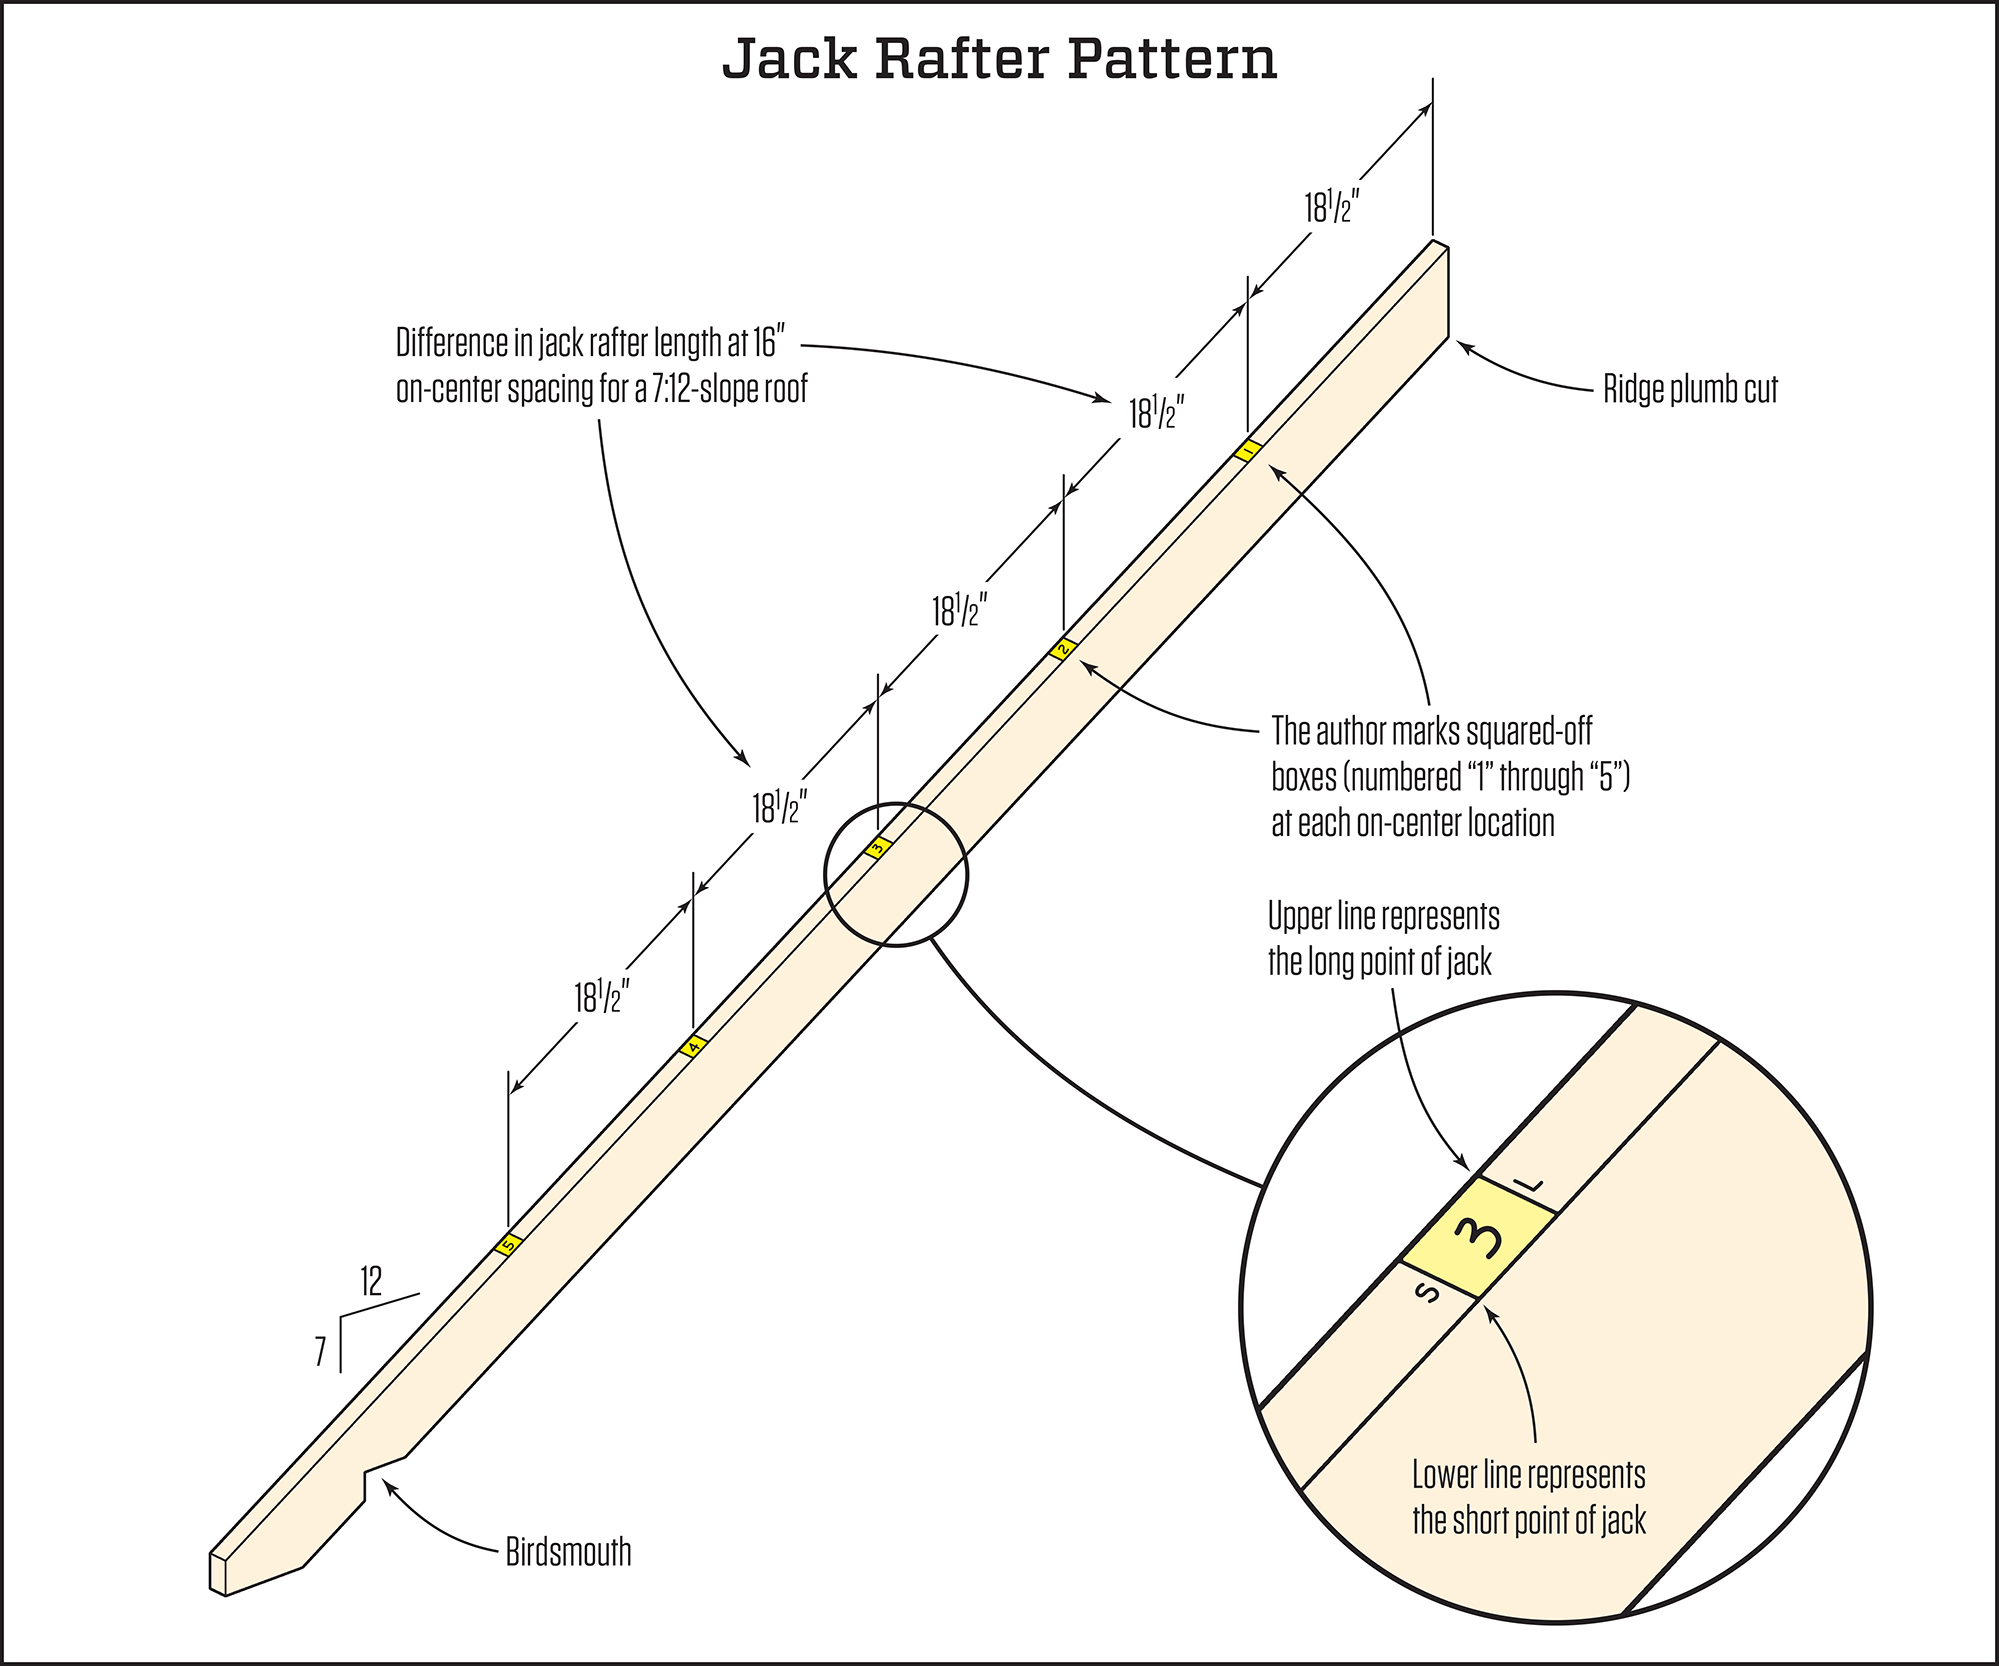
Fast Jack Rafter Layout And Cutting Jlc Online

Hip Roof Drawings Hip Roof Roof Roof Framing
Https Encrypted Tbn0 Gstatic Com Images Q Tbn 3aand9gctcqib49xayfceyxowb762u1f1mjubp Uqw0nxkqabfpe5njc7g Usqp Cau

How To Calculate Rafter Lengths For Gable Hip And Valley Rafters Gable Roof Design Rafter Building Roof
Swanson 25 Cm Metric Speed Square Carded With English French And Spanish Na202 The Home Depot

Joining Unequally Pitched Roofs Jlc Online

Gable Roof Framing Calculator Rafter Templates Roofing Plans Pitch 3d

12 12 Hip Roof Shed Plans Blueprints For Crafting A Square Shed Roof Framing Hip Roof Shed Plans
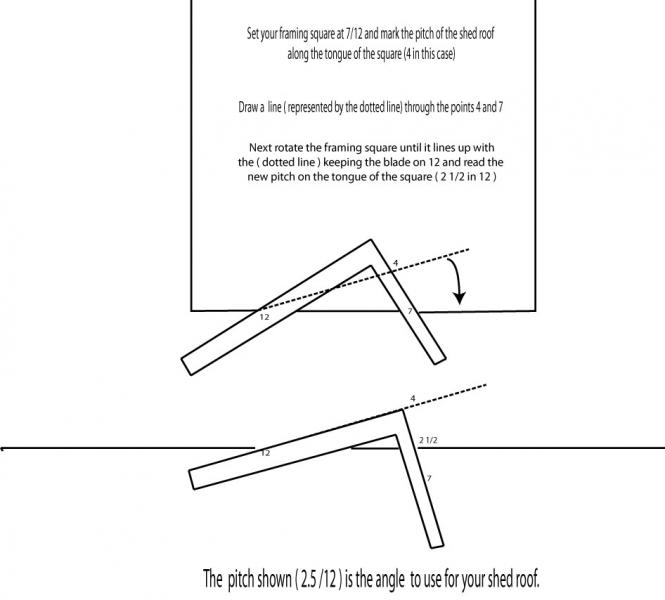
How To Mark The Top Of A Shed Roof Rafter Blue Palmetto Home Inspection

Basic Roof Framing Instructions Roof Framing Shed Roof Rafter

Framing Square Basics Square Frames Construction Calculators Roof Framing

Basic Roof Framing Instructions Roof Framing Roof Building Roof

How To Build A Roof For A 12x16 Shed Howtospecialist How To Build Step By Step Diy Plans Building A Shed Roof Roof Truss Design Diy Shed Plans
Johnson Rafter Angle Square Ras 170b Ora The Home Depot
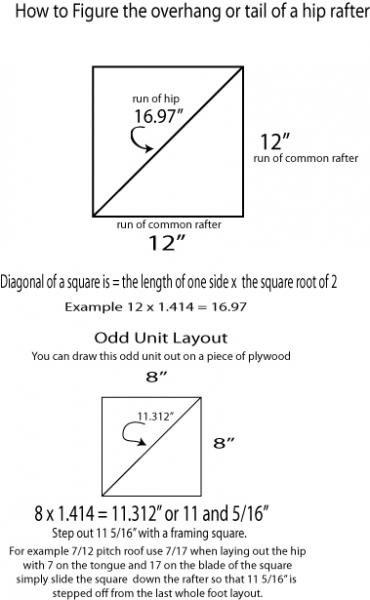
How To Lay Out A Hip Rafter Tail Or Overhang Blue Palmetto Home Inspection
Irwin Rafter Square Reference Guide Complete Instruction Book

Chappell Square Products

Online Tools For Commercial And Residential Framing Porch Roof Construction Shed Roof Building A Shed Roof

Johnson Level 12 Aluminum Rafter Square At Menards

Framing Square Basics Square Frames Construction Calculators Roof Framing

How To Add A Roof To A Diy Wooden Playground Playset Wooden Playground Diy Playground Swing Set Diy
Roof Framing Learn How To Frame A Roof And Calculate Rafter Lengths Framing Construction Roof Framing Roof Trusses

Framing Square Basics How To Use One Youtube
Build An Attached Carport Extreme How To

Pin On Home Additions
Framing Square How To Use Framing Square Johnson Level Tool Mfg Company

